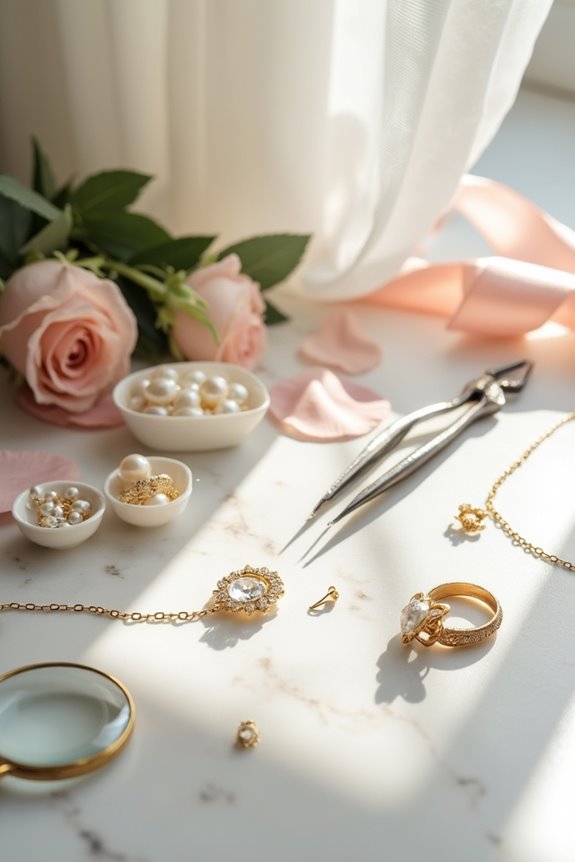
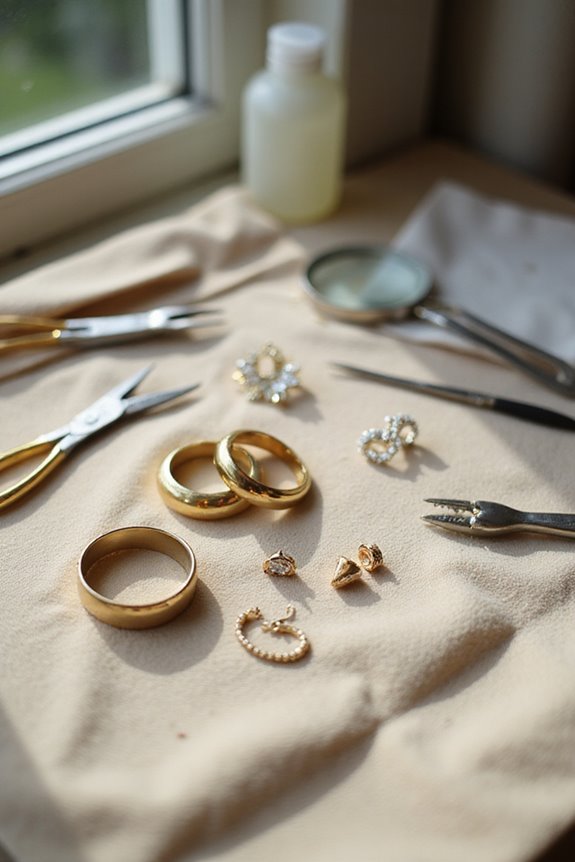
Repairing broken jewelry isn’t as intimidating as it sounds! First, gather essential tools like pliers, a jeweler’s saw, and needle files. For a loose stone, try using high-quality jewelry glue for a quick fix. If your chain’s broken, identify the type of break and use jump rings or soldering as needed. For more complex repairs, like resizing rings, it’s best to call in a pro. Want to discover even more repair tips? Let’s keep going!
Key Takeaways
- Identify the type of damage, such as broken clasps, loose stones, or broken chains, to determine the appropriate repair method.
- Use high-quality jewelry glue for stone resetting and ensure proper alignment before the adhesive sets.
- For chain repairs, assess the break type and either use jump rings or soldering to reconnect links.
- Regular maintenance, including cleaning and checking settings, can prevent further damage and extend the life of your jewelry.
- Seek professional help for valuable or complex pieces, as they require specialized tools and expertise for proper restoration.
Essential Tools for Jewelry Repair
When it comes to repairing broken jewelry, having the right tools can make all the difference. We’ve all been there, staring at a broken piece, wondering where to start. Tool selection is key! A jeweler’s saw helps with cutting intricate designs, while needle files smooth those tiny edges. Don’t forget about pliers—round nose and flat nose are lifesavers for bending and gripping.
For a clean cut, flush cutters are essential. And if we’re resizing rings, a mandrel is our best friend. These tools make repair techniques easier and help us achieve professional results. So, let’s gather our essentials and tackle those repairs with confidence! We’ve got this, and soon, that jewelry will be shining again!
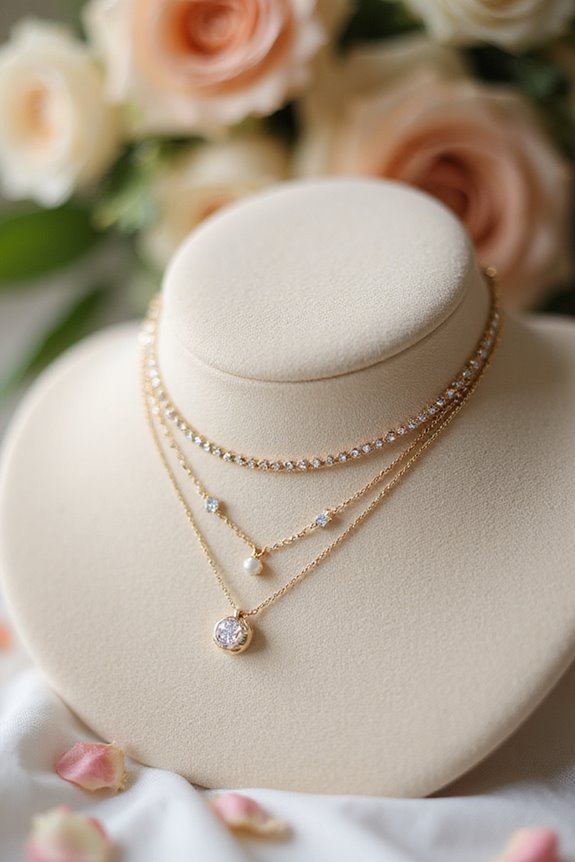
Common DIY Jewelry Repairs
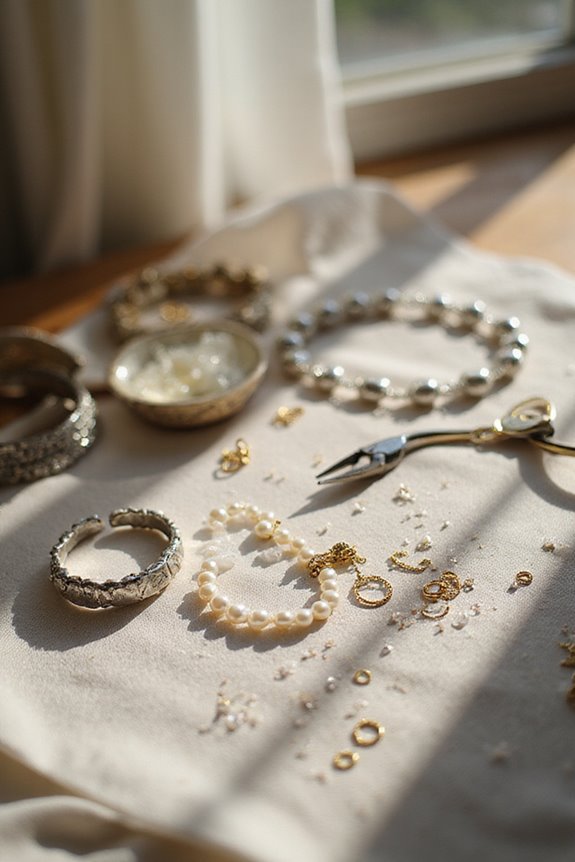
Every jewelry lover has faced the heartbreak of a broken piece at some point. Luckily, common DIY jewelry repairs can save the day!
Stone Resetting
If a stone falls out, we can use high-quality jewelry glue like Devcon 5 Minute Epoxy. Just clean both the stone and setting, apply glue sparingly, and hold it in place while it cures.
Chain Repair
For broken chains, we first identify the break type. If it’s a link, using jump rings might do the trick. If soldering, we carefully apply heat with a jeweler’s torch.
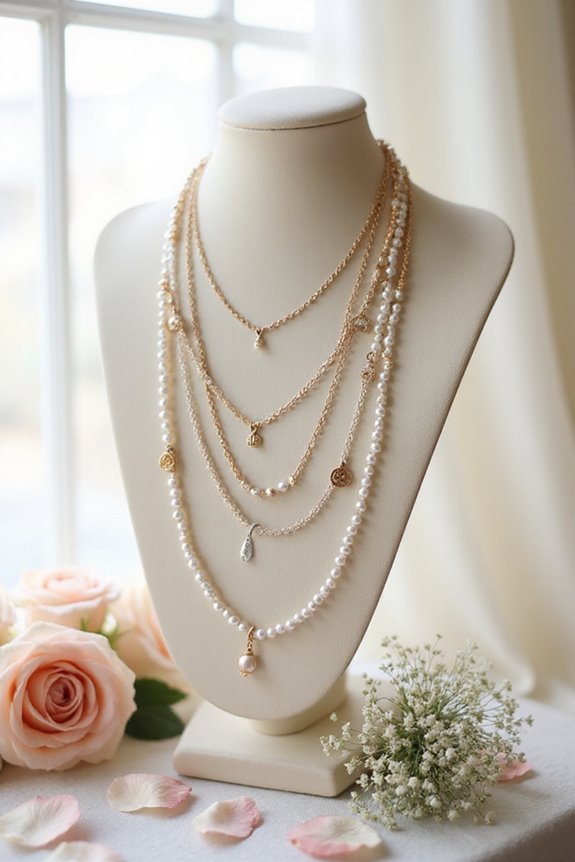
Restringing
For necklaces, removing old wire and re-threading with new string can bring our favorite pieces back to life. Remember, we’re in this together!
When to Seek Professional Help
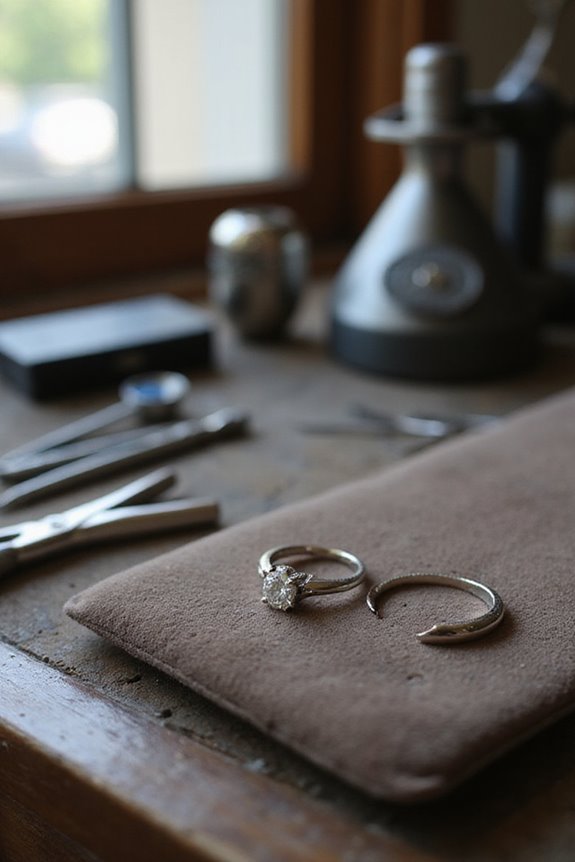
Sometimes, despite our best efforts, jewelry pieces need a little extra TLC that only a professional can provide. So, when should we consider seeking help? If we notice broken clasps or loose stones, it’s definitely time to repair. These are clear signs needing assistance, as they can lead to further damage or loss.
For our valuable or sentimental pieces, like family heirlooms, professional care is essential. Antique jewelry or items with complex designs require skilled artisans who know the ropes. If our jewelry shows visible cracks or signs of wear, it’s best to consult a trained jeweler. They’ve got the tools and expertise to restore our treasures and keep them safe for years to come!
Soldering Techniques for Jewelry Repair
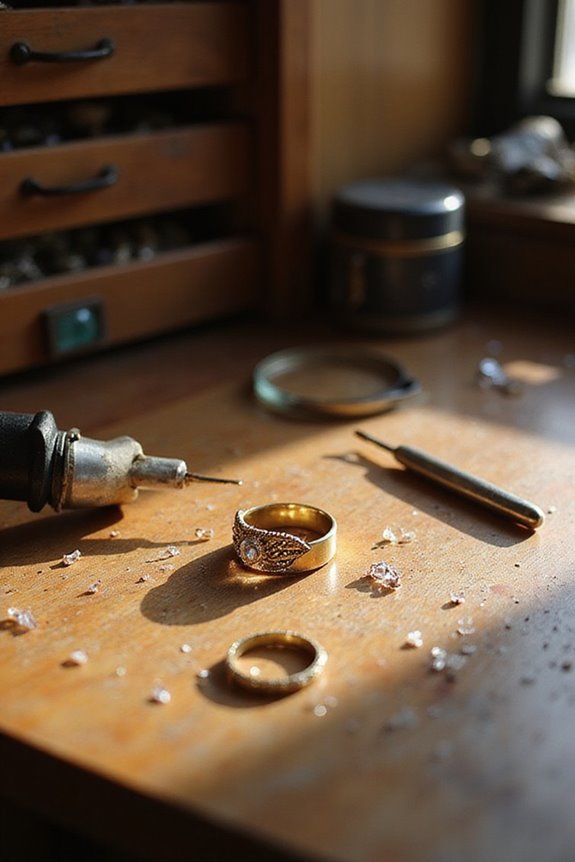
After we’ve decided to seek professional help for our treasured jewelry pieces, there are times when we might feel a little adventurous and take on some repairs ourselves. First, let’s set up a well-lit soldering station. Remember, soldering safety is key! Clean your metal pieces to guarantee a good bond, and use fireproof surfaces like soldering bricks. When it comes to solder types, choose what suits your metal—silver solder for sterling silver, for example. If you’re tackling small repairs, a soldering iron works wonders, while larger pieces might need a torch. Heat the metal gently, and watch for your flux changing color—it’s like a little signal saying, “I’m ready!” Let’s embrace our inner jewelers!
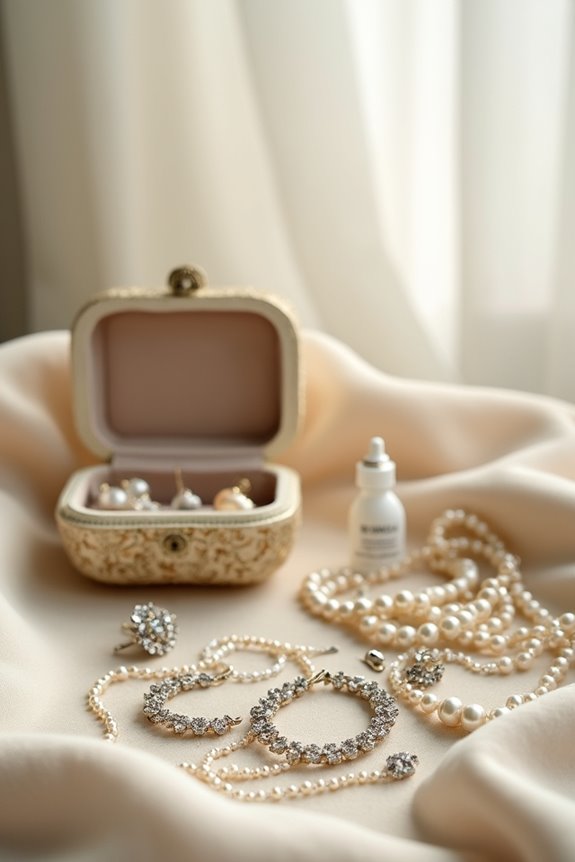
Basic Jewelry Care and Maintenance
When it comes to taking care of our jewelry, we can all agree that a little love goes a long way. To guarantee our pieces shine, regular jewelry cleaning is essential. A simple warm water and mild soap solution will do wonders. We can gently brush intricate areas with a soft-bristled toothbrush, avoiding scratches.
For metal protection, it’s best to keep our jewelry away from harsh chemicals like perfumes and lotions. Storing pieces separately in a lined box helps prevent scratches and tangling. And don’t forget to check clasps and settings regularly to catch any potential issues early. With these simple steps, we can keep our jewelry looking fabulous and lasting longer—because who doesn’t want that?
Step-by-Step Repair: Fixing a Broken Cord Bracelet
Let’s plunge into fixing that broken cord bracelet! First, we’ll gather our materials: stretchy elastic cord, scissors, and a large-eye beading needle. It’s essential to measure the original bracelet length, cutting the new cord about 30% longer.
Next, let’s remove the old cord carefully, sliding off the beads for reuse. When restringing, pay attention to bead selection, keeping the original pattern. Leave a bit of extra cord at both ends for knot techniques; a surgeon’s knot works wonders here!
For added security, a dab of jewelry glue on the knots helps them hold firm. Finally, let’s test the stretchiness and check for any loose beads. Voila! Your bracelet is ready to wear again.
Tips for Preventing Jewelry Damage
Taking care of our jewelry can feel overwhelming at times, but with a few simple tips, we can keep our treasured pieces looking their best.
Jewelry Storage
First, let’s talk about jewelry storage. Using a fireproof safe is a smart move. It keeps our pieces safe from theft and pesky humidity. Plus, organizing compartments can prevent tangling—no more wrestling with necklaces!
Handling Precautions
When it comes to handling precautions, let’s remember to remove rings during workouts. Trust me, that’s a lot safer than risking a bent band! Also, steer clear of harsh chemicals. They can ruin our favorite items faster than we can say “oops!”
Frequently Asked Questions
Can I Use Super Glue for Jewelry Repairs?
We can use super glue for jewelry repairs, but we should explore super glue alternatives too. Employing various jewelry repair techniques guarantees we find the best method for our specific pieces and their materials.
How Do I Know if a Piece Is Worth Repairing?
To determine if a piece’s worth repairing, we should weigh repair costs against its sentimental value. If the memories tied to it outweigh expenses, it’s likely worth investing in a professional repair.
What Types of Materials Can I Repair at Home?
In our creative workshop, we can breathe new life into broken treasures! From bead stringing vibrant colors to metal soldering sturdy connections, there’s a world of DIY magic waiting for us at home. Let’s get started!
How Can I Tell if a Stone Is Loose?
To check for a loose stone, we should conduct a thorough stone inspection. Listening for rattles and feeling for movement during our jewelry maintenance routine can help us catch potential issues before they escalate.
Is It Safe to Wear Repaired Jewelry in Water?
Did you know over 60% of jewelry damage comes from water exposure? We shouldn’t wear repaired jewelry in water often, as it can compromise its durability, weakening settings and adhesives, and leading to future breakage.